How to install C
Dev-C++ is a free, open-source Integrated Development Environment (IDE) that is widely used for programming in C and C++. It was originally developed by Colin Laplace and first released in 1998. Over the years, it has become a favorite learning tool among universities and schools worldwide. Dev-C++ internally uses MinGW (Minimalist GNU for Windows) Compiler. It can be used to code programs in C++ as well as C language. This article discusses how to download Dev-C++ and install it on your Windows computer.
Features of Dev-C++
- Dev C++ uses GCC(GNU Compiler Collection) based compilers. Example: Cygwin, MinGW, etc.
- It provides Auto-Completion features for writing code.
- It supports customizable syntax and highlights the editors which makes source code more readable.
- The project manager feature of Dev C++ provides ease of managing various projects within IDE.
- It provides custom project templates. We can use it to build custom project types.
- It also has a language localization feature that provides support for multiple languages.
How to Install Dev C++
Dev C++ is a free IDE (Integrated Development Environment) for C and C++ programming. Follow these steps to install and get started with Dev C++:
- Download Dev C++.
- Run the setup file.
- Follow the installation steps.
- Launch Dev C++ and start writing your programs.
1) Download Dev C++
Step 1:
You can download Dev C++ from its official website or other trusted sources. Here's a link to download:
Open your web browser and go to the official Dev-C++ website using the link above.
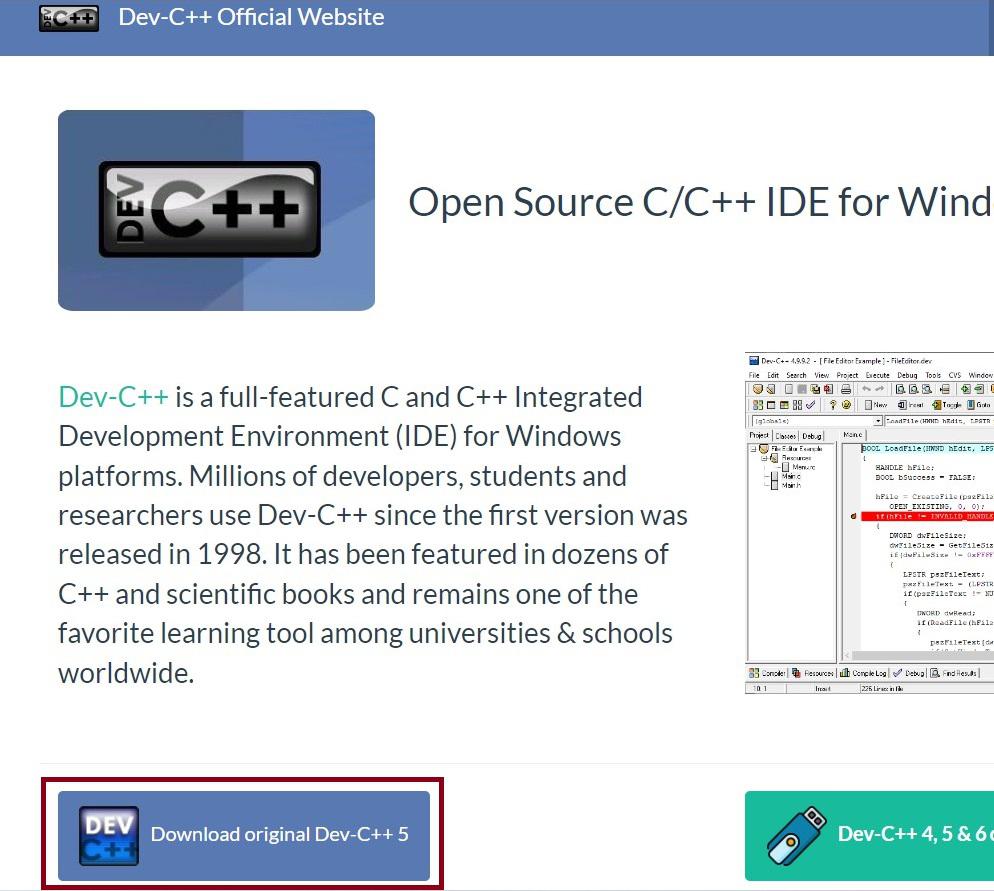
Step 2:
Click the “Download Original Dev-C++ 5” button. Your browser will prompt you to save the file. The download should start automatically after a few seconds.
The file should be stored in your default download location.
Installing Dev-C++
Once you have downloaded the setup, we can install the Dev-C++ using the following steps
Step 1:
Getting Started. Click the OK button to start the installation.

Note: Please make, there is no any other version of Dev-C++ is already installed. If any other version of Dev-C++ is already installed then we need to first uninstall it and then install the new version.

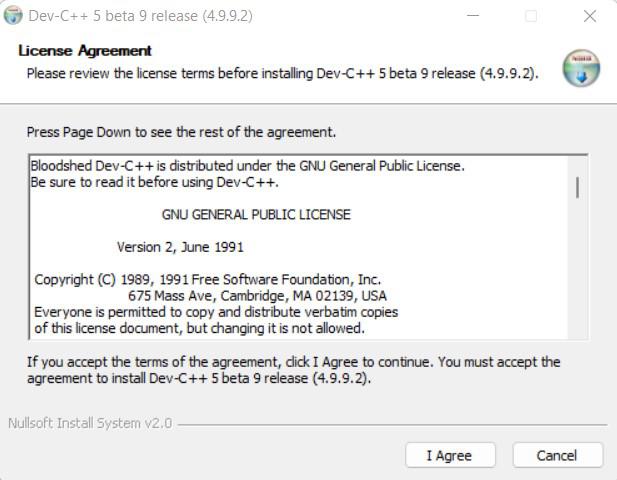
Step 2:
Now, accept the License Terms & Agreement by clicking “I Agree”.
Step 3:
Choosing Components To Be Installed.

Step 4:
Specify the Location.

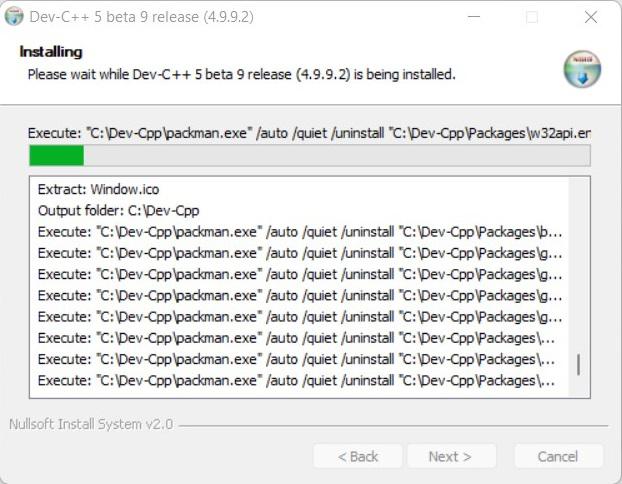
Step 5:
Installing Libraries.
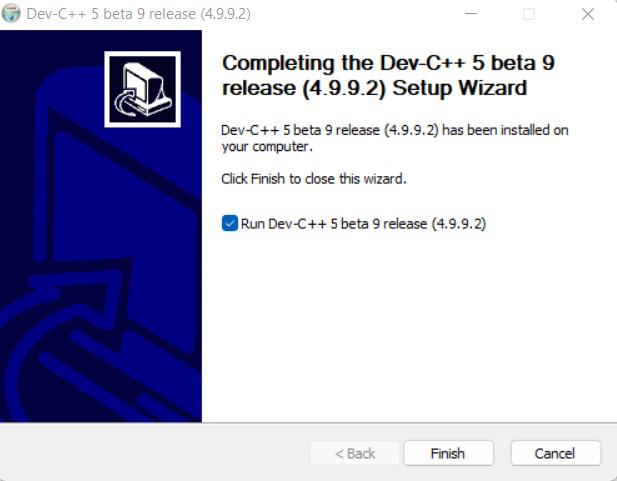
Step 6:
Installation Completion.
Step 7:
Define Path & Directories.

Note: We need to click ‘Yes’, Dev-C++ will automatically create the bins for us.
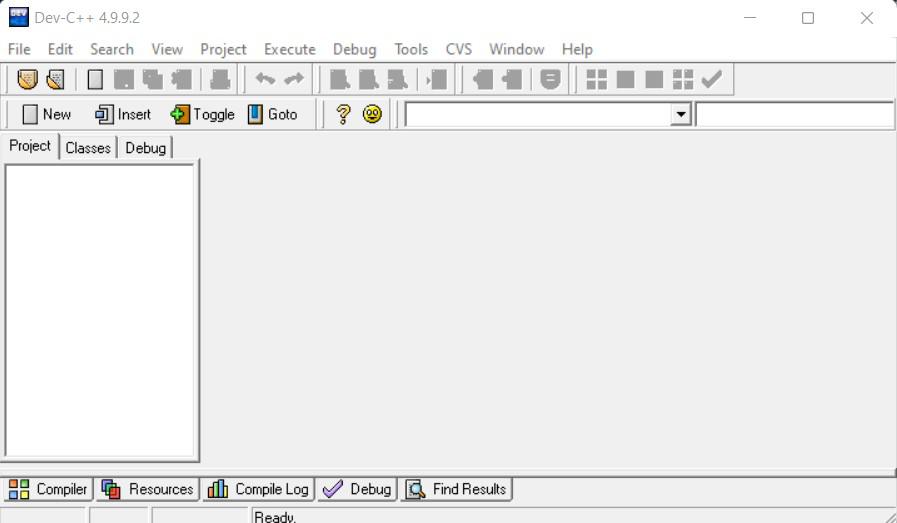
Dev-C++ IDE
Below is the screenshot of the home screen of the Dev-C++ IDE